
Checklist For Designing Feature Announcement Screenshots
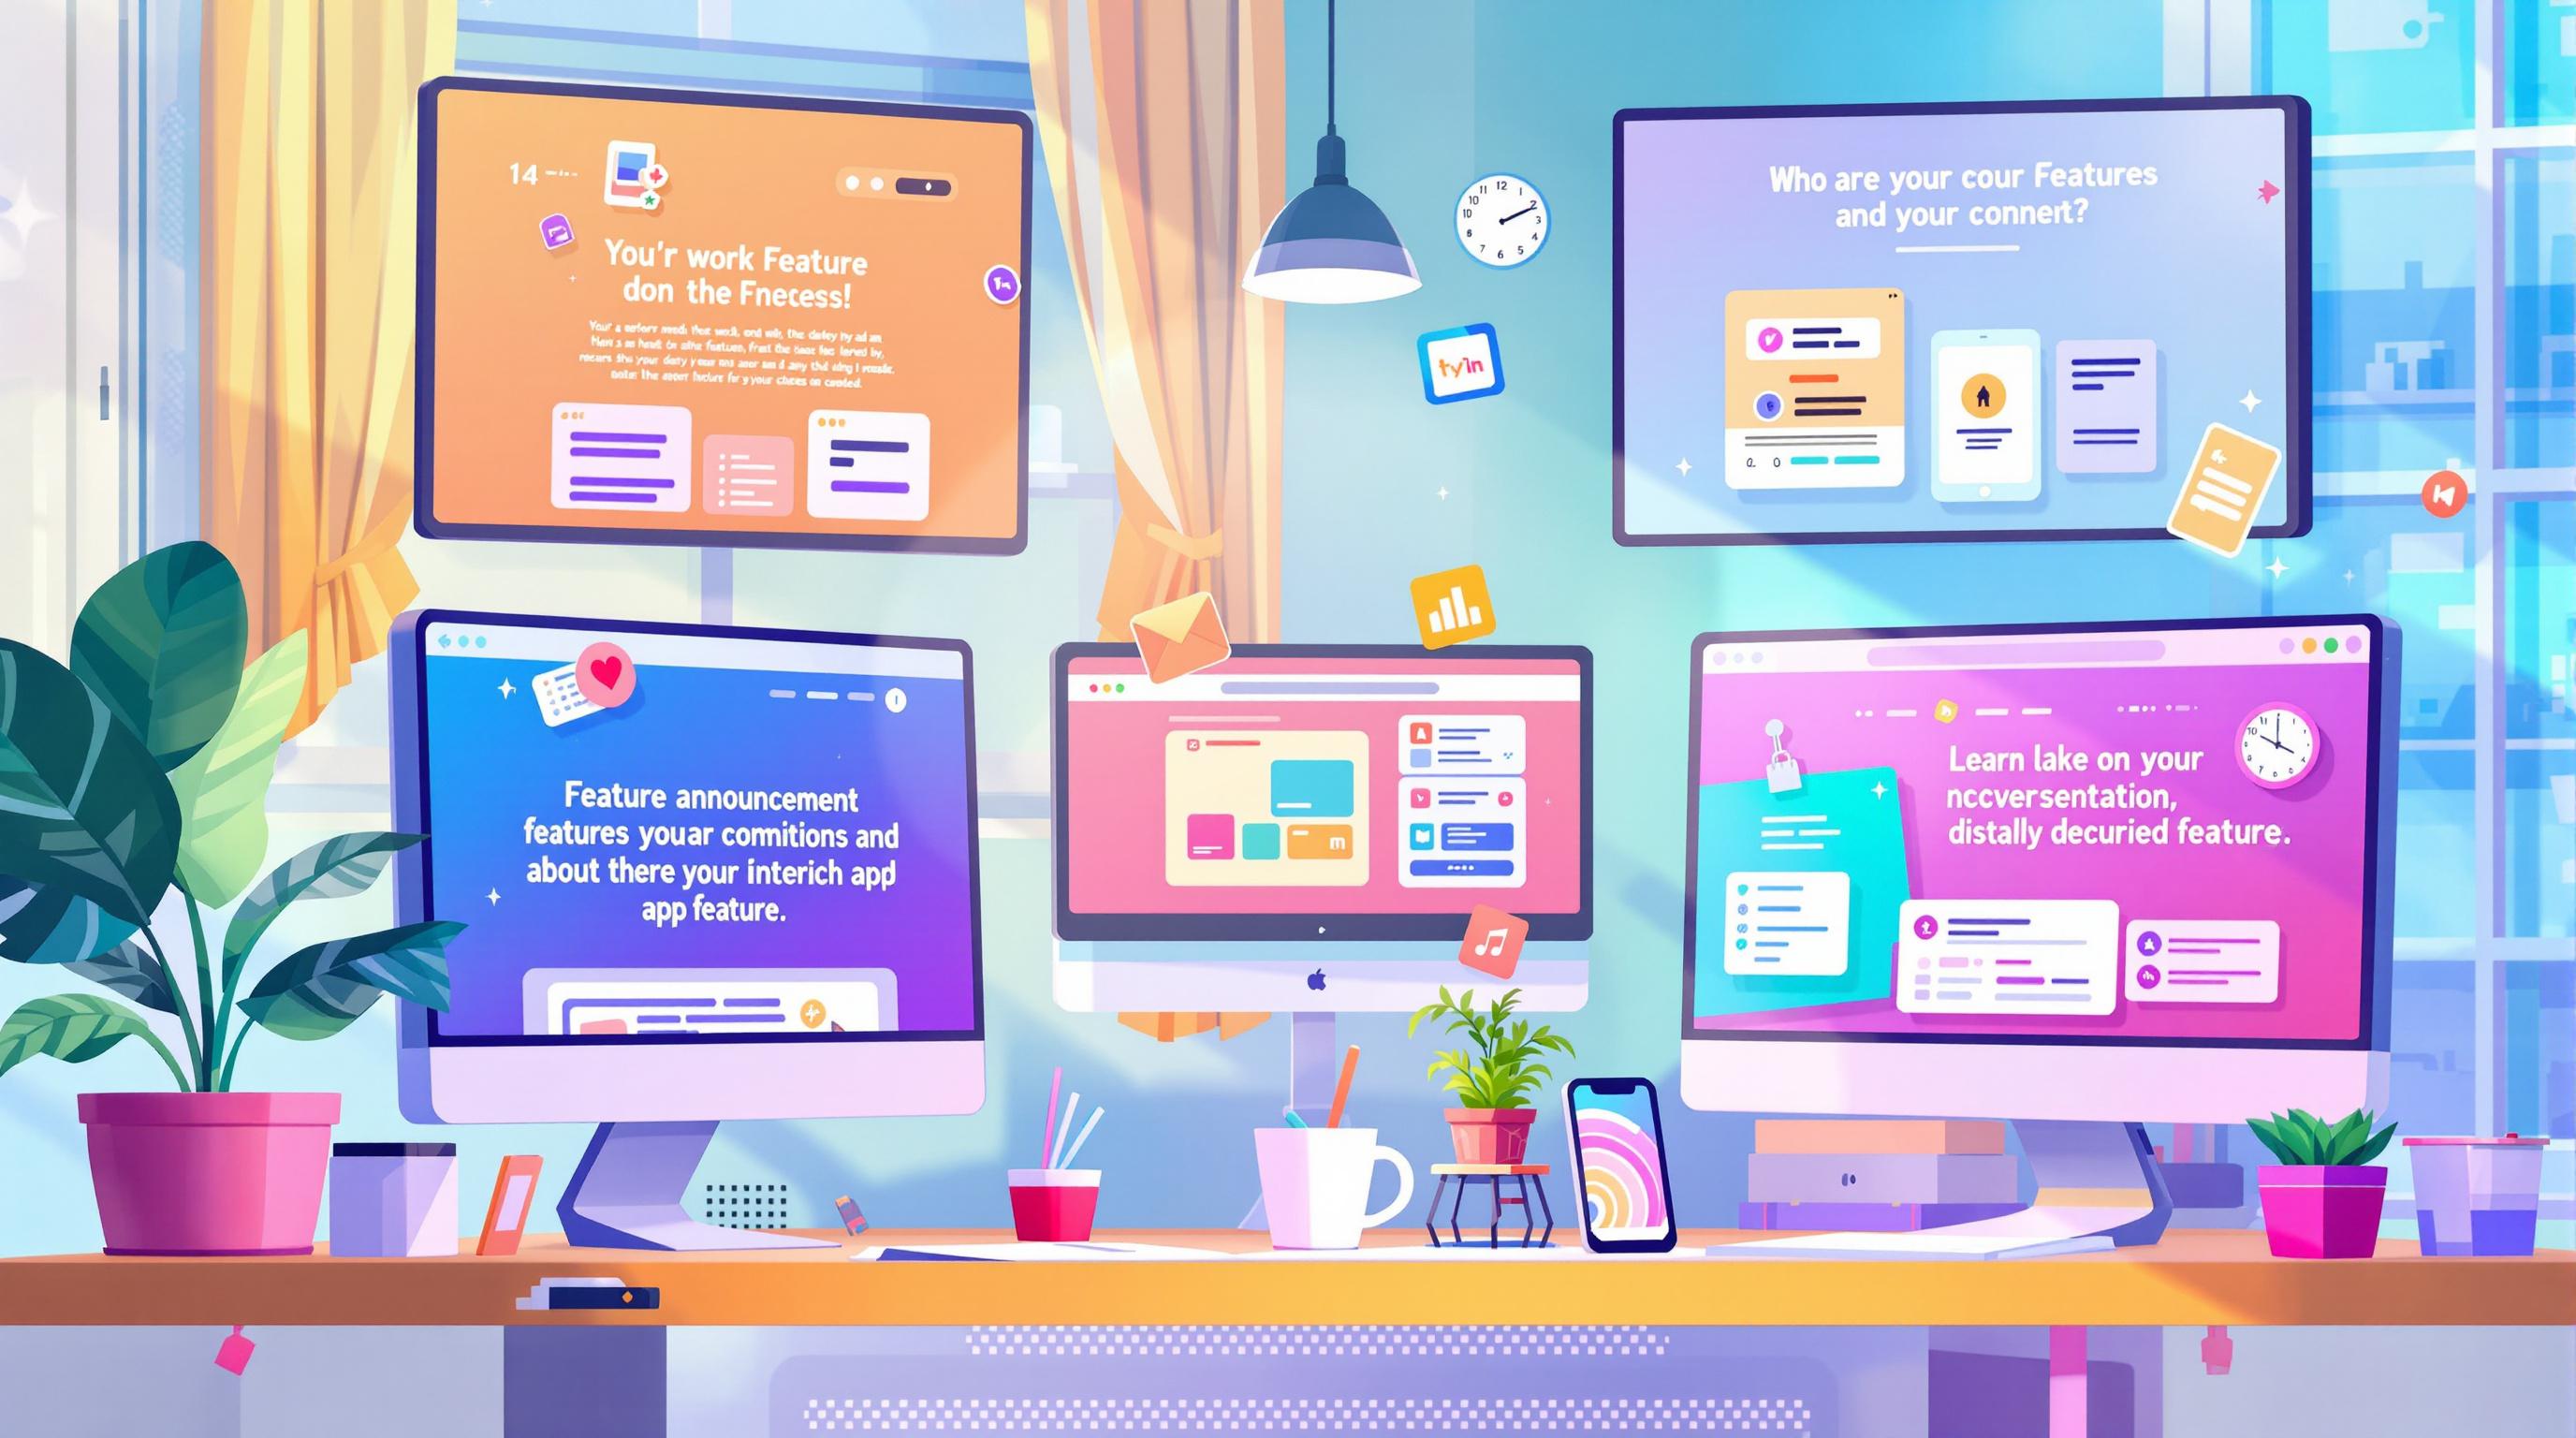
Feature announcement screenshots are essential for showcasing updates and driving user engagement. To create impactful visuals:
- Use High-Quality Images: Ensure clarity with sharp, high-resolution screenshots.
- Maintain Brand Consistency: Stick to your brand’s colors, fonts, and visual style.
- Provide Context: Add annotations and labels to explain the feature and its benefits.
- Keep It Simple: Avoid clutter by focusing on one feature per screenshot.
- Adapt for Platforms: Resize and format for specific channels like social media, emails, or blogs.
- Leverage Tools: Use tools like PimpMySnap for annotations, templates, and consistent branding.
- Track Performance: Measure engagement rates and user feedback to refine your visuals.
How to Create Annotated Screen Capture Images
Key Features of Effective Feature Announcement Screenshots
Crafting feature announcement screenshots that grab attention and communicate effectively requires a focus on a few essential elements. These elements ensure your visuals are clear, professional, and informative.
Use High-Quality Images
Crystal-clear screenshots are a must. They should be sharp, well-sized, and free from any pixelation or blurriness.
Here’s how to ensure top-quality screenshots:
- Capture high-resolution images with readable text and clean interface details, ensuring they look great on any device.
- Eliminate any unnecessary elements that might distract from the feature you’re showcasing.
Maintain Brand Consistency
Consistency in design makes your screenshots instantly recognizable and reinforces your brand identity.
Key areas to focus on:
- Color Palette: Use your brand’s colors for highlights and annotations.
- Typography: Stick with your brand’s fonts for any added text or labels.
- Visual Style: Ensure uniform use of shadows, borders, and other design accents.
Provide Context
Adding context turns a basic screenshot into a powerful communication tool. Annotations and labels help explain functionality and emphasize key features.
| Context Element | Purpose | Example |
|---|---|---|
| Annotations | Highlight specific functions | Arrows pointing to new buttons |
| Descriptive Labels | Explain feature benefits | Short text describing each element |
Keep your annotations clear and relevant. Use visual aids like arrows or highlights to direct attention to specific areas, and show how the feature integrates into your product. Focus on the most important details and avoid crowding the image with too much information.
Design Tips for Feature Announcement Screenshots
Creating feature announcement screenshots that grab attention and clearly communicate your updates requires thoughtful design. Here’s how you can make your screenshots stand out.
Keep the Design Simple
Simplicity is key when designing feature announcement screenshots. Overloading the design with too many elements can confuse users and dilute your message.
| Design Element | Best Practice | Why It Matters |
|---|---|---|
| Background | Clean, minimal | Reduces distractions |
| Color Usage | 2-3 colors max | Keeps focus on the feature |
| White Space | Generous spacing | Enhances readability |
Stick to showcasing one feature at a time. This ensures users can quickly grasp the update without feeling overwhelmed. Once your layout is streamlined, you can use annotations to make the feature even clearer.
Add Annotations and Highlights
Annotations transform plain screenshots into engaging, easy-to-understand visuals. Tools like PimpMySnap let you add elements like arrows and text to guide users through the new feature.
Tips for effective annotations:
- Use arrows, highlight boxes, and concise text to point out key areas.
- Keep it simple - limit annotations to 2-3 per screenshot to avoid clutter.
- Ensure all annotations follow a consistent style for a polished look.
Match Platform Requirements
Adapting your screenshots to fit platform-specific dimensions ensures they look professional and are easy to understand. For example, blogs often need landscape images, while social media prefers square formats.
Create a master version of your screenshot that can be resized or cropped for different platforms. Tools like PimpMySnap make it easy to export in various formats while maintaining quality and consistency.
"Figma's in-app announcements demonstrate effective platform optimization by using branded images with short descriptions and clear CTAs to showcase new features. This approach has proven particularly effective due to its strong attention-grabbing visuals and informative content" [2].
Tools to Create Better Screenshots
Creating high-quality screenshots for feature announcements requires the right tools and a solid workflow. With the right approach, you can produce visuals that are both clear and engaging.
PimpMySnap

PimpMySnap helps turn basic screenshots into polished visuals, making it ideal for feature announcements.
| Feature Category | Capabilities | Use Case |
|---|---|---|
| Visual Elements | Animated stickers, custom backgrounds, frames | Crafting visually appealing announcement images |
| Annotation Tools | Highlights, text overlays, drawing tools | Clearly explaining new features |
| Export Options | PNG, GIF, MP4, clipboard support | Sharing visuals across multiple platforms |
The tool also allows you to save custom presets, which can be a huge time-saver if you're frequently updating visuals for different platforms. Using such presets ensures your branding stays consistent and reduces repetitive work.
Use Templates and Presets
Brand-Aligned Templates: Design master templates that include your brand’s colors, fonts, and styling. This ensures every announcement looks consistent, regardless of who creates it.
Platform-Specific Presets: Tailor your visuals to fit specific platforms. For example:
| Platform | Preset Configuration |
|---|---|
| Documentation | Clean background, detailed annotations |
| Social Media | Animated elements, concise callouts |
| Email Updates | Mobile-friendly format, branded elements |
Templates and presets not only save time but also keep your visuals consistent across different channels.
"Engaging visuals like screenshots and GIFs clarify how features work and their benefits" [2].
Tips for Using and Improving Screenshots
Share Across Multiple Platforms
Different platforms require tailored adjustments to make your screenshots stand out and serve their purpose effectively.
| Platform | Screenshot Optimization |
|---|---|
| Social Media | Compact, attention-grabbing visuals |
| In-app Notifications | Mobile-friendly dimensions |
| Email Updates | Responsive, adaptable images |
| Documentation | High-resolution, detailed images |
Collect Feedback and Improve
Leverage user feedback and performance data to refine your screenshots.
"Data and analytics can help track engagement metrics such as click-through rates, time spent on the page, and user feedback. This data can help in understanding how well the screenshots are performing and identifying areas for improvement" [2].
Key metrics to monitor include:
| Metric | What to Measure |
|---|---|
| Engagement Rate | Likes, shares, and comments |
| Click-through Rate | Link clicks or feature adoption |
| Time on Page | How long users view the content |
Make Screenshots Accessible
Ensure your screenshots are usable by everyone. Incorporate features like high-contrast colors, descriptive alt text, and clear labels.
For more complex features, consider offering alternatives such as detailed text descriptions or brief video walkthroughs to cater to diverse user preferences.
Conclusion
Creating feature announcement screenshots requires a mix of smart planning and creative design. The recipe for success includes three main ingredients: clear messaging, a focus on the user, and ongoing refinement.
Great screenshots rely on professional tools and consistent branding to ensure high-quality visuals across all platforms. This approach not only communicates features effectively but also reinforces your brand identity. According to App Annie, 62% of users are more likely to engage with an app when clear and concise instructions are provided through well-crafted screenshots [1].
To make a real impact, it's important to track performance metrics, listen to user feedback, and adjust based on what works. Prioritizing accessibility and meeting platform-specific requirements ensures your screenshots connect with the widest audience possible.
Screenshots that are thoughtfully designed can highlight your product's progress, improve user experience, and encourage more people to adopt new features. By applying the strategies outlined here, you can create visuals that both inform and captivate your audience.
FAQs
Here's how to introduce new features in an app effectively, using a mix of thoughtful strategies and clear communication.
How do I introduce a new feature in an app?
Launching a new feature successfully involves using various communication methods and tailoring your message to different user groups.
- Use multiple channels: Announce the feature across several platforms to connect with diverse audiences. For instance, Analyst Builder uses in-app notifications to engage active users while also utilizing social media and documentation updates for a wider reach [2].
- Customize your message: Adjust your messaging to fit the needs of specific user segments. Chameleon, for example, uses targeted tooltips for experienced users and simplified welcome flows for newcomers [2].
- Add visuals: Tools like PimpMySnap can help you create eye-catching visuals that stay true to your brand and clearly explain how the feature works [1].
Key components for a strong feature introduction:
| Component | Purpose |
|---|---|
| Clear Messaging | Highlight the benefits for users |
| Visual Guidance | Demonstrate how the feature works |
| Targeted Delivery | Connect with users on their preferred platforms |
"Experts emphasize the importance of focusing on the benefits to users, using clear and concise language, and including strong calls-to-action" [2].